Recent Articles
Quickest Mobile Data Recovery Case: 100% of Data Recovered in One Hour
How to fix a corrupted database on PS4
How to Troubleshoot Black or Blank Screens in Windows
LockBit Ransomware: A Comprehensive Guide to the Most Prolific Cyber Threat
How To Use iPad Recovery Mode
How to Prevent Overwriting Files: Best Practices
External Hard Drive Not Showing Up On Windows – Solved
How to Fix a Corrupted iPhone Backup
Backup and Remote Wiping Procedures
Common VMware Issues and Troubleshooting Solutions
I think there's an issue with my storage device, but I'm not sure Start a free evaluation →
I need help getting my data back right now Call now (800) 972-3282
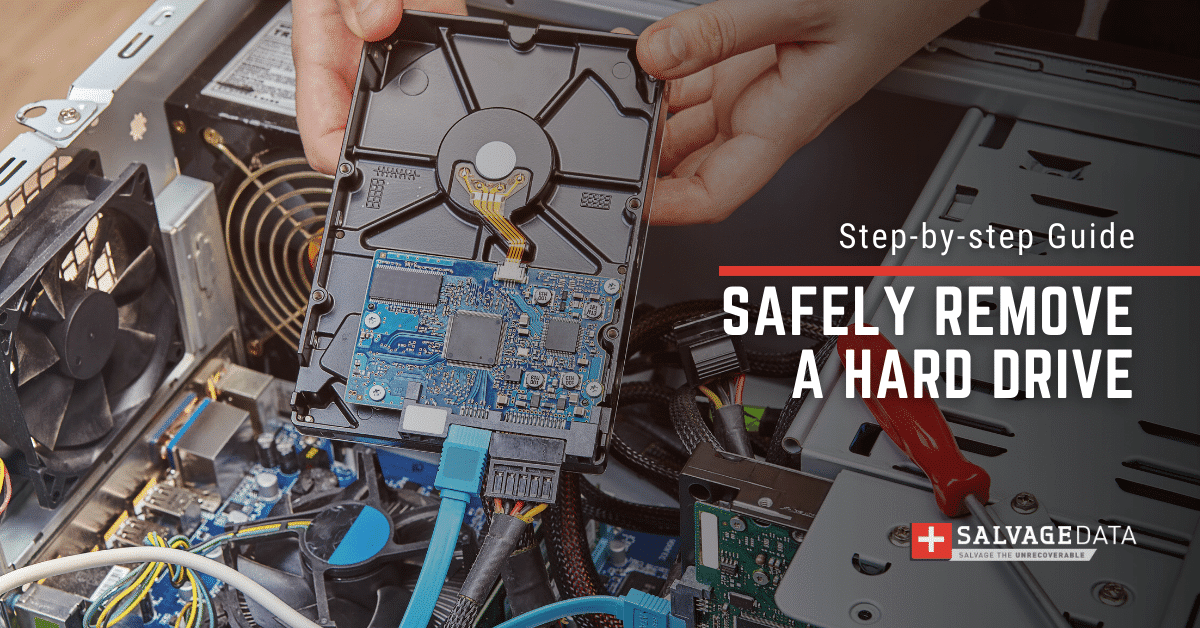
There are several situations where you may need to remove a hard drive from a computer, including upgrading the primary hard drive, disposing of an old computer, or recycling a computer.
Pro tip: See how you can safely wipe your hard drive before discarding it.
It is important to note that laptops require fewer technical skills than desktop computers. If you are not confident in your ability to remove the hard drive from your computer, it is recommended to take it to a professional.
Even though this is a different action from removing the hard drive from a laptop, you must take similar precautions and be as careful as when removing the drive from a laptop.
What do you need BEFORE removing the computer hard drive
Before removing a computer hard drive, it is important to back up your data to an external hard drive or cloud storage. This will ensure that you don’t lose any important files. You can use various methods to back up your data, such as using an external hard drive, USB flash drive, optical media, cloud-based solutions like Google Drive or Dropbox, or backup software.
Protip: See how you can back up your computer’s data to an external HDD.
You can also clone your hard drive, especially if the booting and operating system are installed on it. You must also:
- Make sure you’re working in a clean and static-free environment to prevent any dust or debris inside your computer that can damage the sensitive components.
- Wear gloves, such as surgical gloves, and don’t touch delicate elements of the HD.
- Use small tools, like a jeweler’s screwdriver.
Step-by-step to remove Hard Drive from a computer
There are several situations where you may need to remove a hard drive from a computer, including upgrading the primary hard drive, disposing of an old computer, or recycling a computer.
Here are the steps to remove a hard drive from a desktop computer:
Step 1. Power down the computer
Turn off the computer and unplug it from the power source. This will prevent any electrical accidents while removing the hard drive that may cause permanent data loss.
Step 2. Locate the hard drive and determine how the hard drive is connected
The hard drive is usually located near the front of the case, and it is clearly labeled. You will need a screwdriver to open the cage or mounting bracket that holds the drive. Some newer hard drive cases are “toolless,” meaning that you just have to push a simple lever or switch to be able to remove the hard drive.
Step 3. Remove the hard drive
Desktop hard drives will often sit on a set of rails towards the front of the computer case. Using both hands, carefully slide it outward. You may need to gently wiggle it loose.
Pull carefully – if you encounter any resistance, stop!
Nothing in a computer case should require any substantial amount of force, therefore, if you’re pulling or pushing hard, you’re probably doing it wrong.
Step 4. Disconnect the SATA cable and power connector
The last and most important step is to disconnect the Serial Advanced Technology Attachment (SATA) cable and power connector. The SATA cable is a wide, thin ribbon-like cord.
After that, you can securely remove your hard drive and store it in a clean environment until the moment you need it again.
Bonus: How to insert the new HDD into the PC?
In this step-by-step guide, we will explain how to insert a new HDD into a PC in a simple and straightforward way. Whether you are a gamer, graphic designer, or just someone who needs more storage space, this guide will help you install a new hard drive with ease.
Step 1. Determine the type of hard drive
Make sure you have the correct type of hard drive for your computer. Most modern desktop computers use SATA hard drives.
Step 2. Power down the computer
Turn off the computer and unplug it from the power source. This will prevent any electrical accidents while installing the new hard drive.
Step 3. Open the computer case
Use a screwdriver to remove the screws that hold the side panel of the computer case in place. Once the screws are removed, slide the panel off to expose the inside of the computer.
Step 4. Locate the drive bay
The drive bay is where the hard drive will be installed. It is usually located near the front of the case, close to the optical and other drives.
Step 5. Mount the hard drive and connect the SATA cable
Mount the hard drive in the drive bay using screws or a tool-less tray. Make sure the drive is secure and won’t move around.
After that, connect one end of the SATA cable to the hard drive and the other end to an available SATA port on the motherboard. The SATA cable is a wide, thin ribbon-like cord.
Step 6. Connect the power cable
Connect the power cable to the hard drive. The power cable is a wide, rectangular cord.
Step 7. Close the computer case
Once the hard drive is installed and connected, replace the side panel of the computer case and secure it with screws.
Step 8. Power on the computer
Turn on the computer and check that the new hard drive is recognized and installed by the system. You may need to format the new hard drive before you can use it, and transfer the data from the old one.


