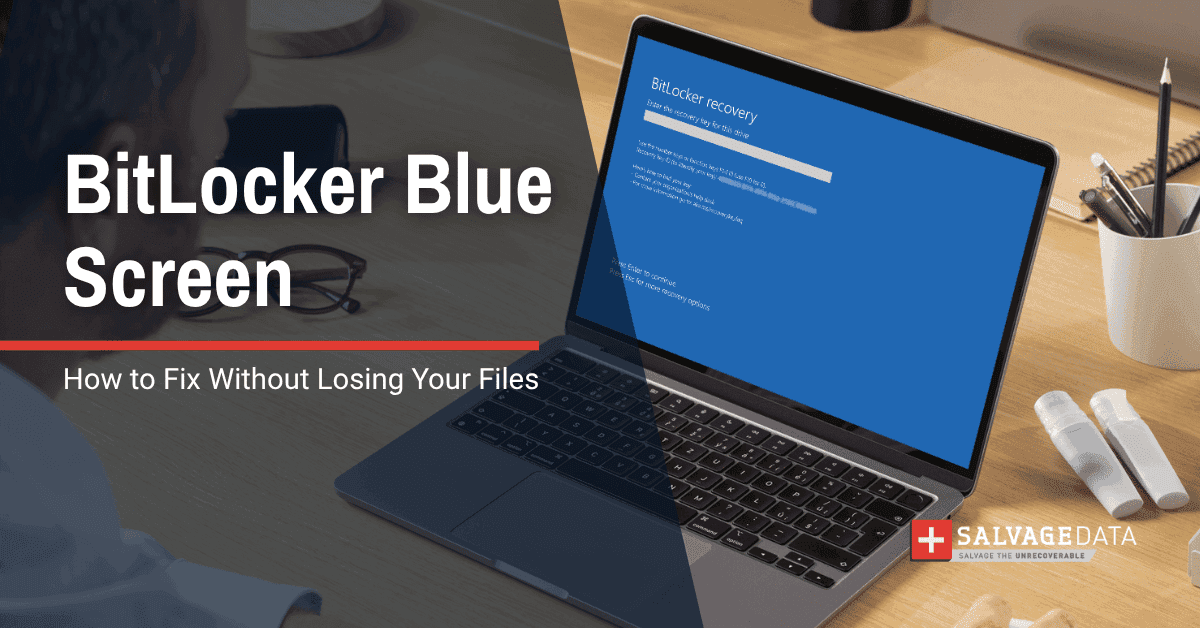

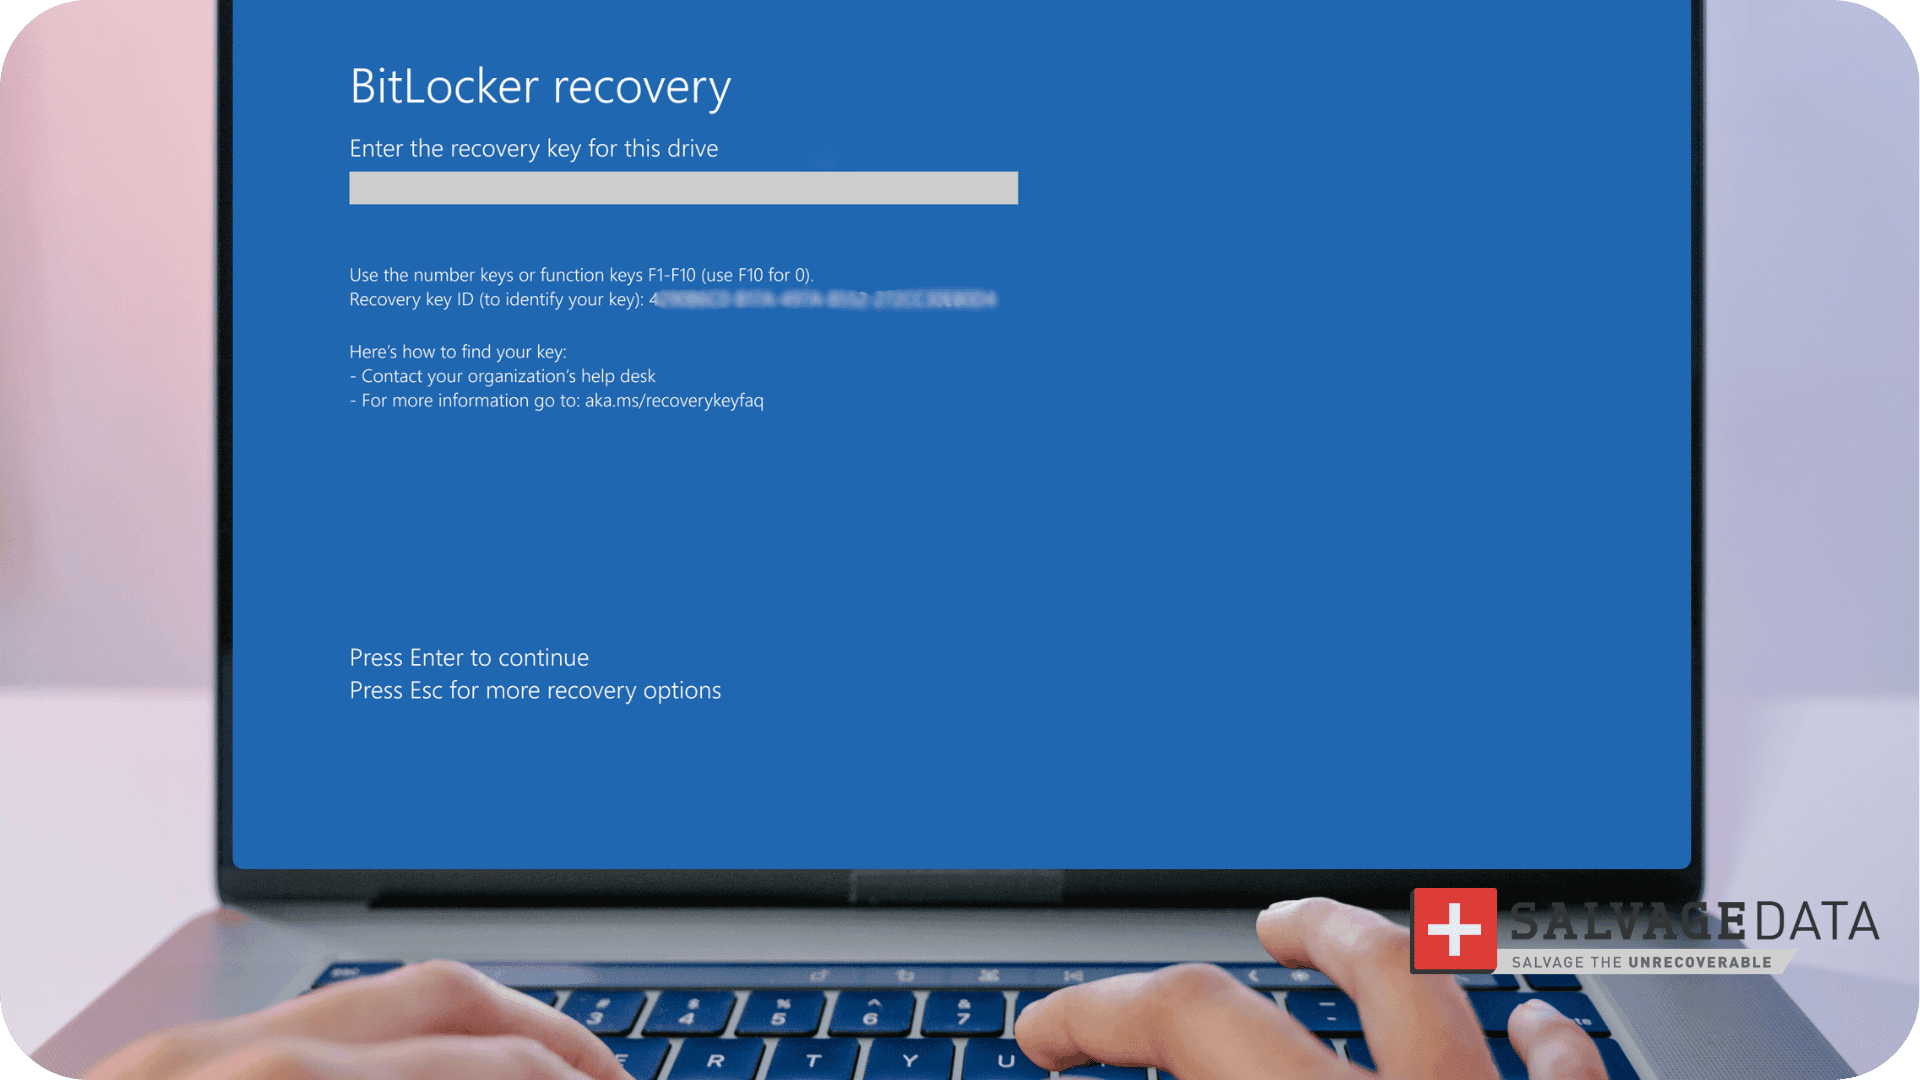
A BitLocker recovery blue screen appears when Windows can't confirm the boot environment hasn't been tampered with, and the only way past it is the 48-digit recovery key tied to that drive.
In most cases, a recent Windows update, a BIOS/UEFI change, or a hardware swap triggered the lock, and once you have the key, the fix takes a few minutes of command-line work.
If the key is genuinely gone, the "bypass" methods won't unlock the drive. They erase it. For encrypted data recovery, a professional lab can sometimes reach the data another way.
Can you fix the BitLocker recovery screen with or without the recovery key?
Which fix applies depends on one thing above everything else: whether the 48-digit recovery key is still available. That single fact decides whether this is a few minutes of command-line work or a different kind of problem entirely.
Start here if you have the key
If the recovery key is on hand, start with Fix 1 to enter it directly. If the recovery screen reappears even after a correct entry, Fix 5 resets BitLocker's validation state from the command line rather than just re-testing the same key. If the lock started right after a BIOS or firmware change, or a Windows update, Fix 2 or Fix 4 address the actual cause so the screen stops coming back at every restart.
Start here if you don't have the key yet
If the recovery key isn't immediately on hand, check these places before assuming it's gone for good:
- A personal Microsoft account
- A USB drive you backed it up to
- A printed copy stored somewhere physical
- Active Directory or Microsoft Entra ID, if this is a work device
Work and school devices handle this differently than personal ones. Enterprise keys are centrally managed, so employees who can't locate theirs should contact their organization's IT helpdesk rather than trying a local workaround, which may be restricted or against policy.
On a personal device, once every one of those locations has been checked and the key still isn't there, it isn't recoverable through the device itself. At that point, the next move comes down to one question:
- The data on that drive matters → A professional recovery lab may still be able to reach it even without the key.
- The data doesn't matter → Wiping the drive and reinstalling Windows is a legitimate way to get the hardware back in use, though it erases everything that was on it.
Both outcomes are covered in more detail further down.
What is BitLocker and how can malware misuse it?
BitLocker is a native Windows feature that protects sensitive data through full-volume drive encryption, preventing unauthorized access if a device is lost or stolen.
However, cybercriminals can hijack this legitimate security tool to act as ransomware, using Windows's own built-in features to encrypt corporate files, block administrator access, and demand payment without deploying external malware.
This is why users get apprehensive when they see the BitLocker recovery screen. It’s critical to understand the triggers and how to identify them to protect your data.
What triggers the BitLocker recovery screen
BitLocker drops into recovery mode any time it detects a change to the boot process that it can't distinguish from an attack. This is why the trigger is often something completely routine.
A BitLocker recovery screen can be triggered by several hardware, system, and maintenance changes:
Hardware changes
- Moving the encrypted drive to a new computer
- Installing a new motherboard with a new TPM (Trusted Platform Module)
- Adding new RAM
Firmware and BIOS modifications
- Changing the BIOS boot order
- Clearing or disabling the TPM
- Applying a BIOS or UEFI firmware update
System and data changes
- Modifying boot configuration data
- Installing a Windows update that affects boot-critical components
- Experiencing disk or file system corruption
The recovery screen looks the same regardless of what triggered it, which is why the cause isn't obvious from the screen alone.
System bugs can trigger
System bugs can also trigger the BitLocker recovery screen unexpectedly.
For example, the May 2025 Windows 10 update (KB5058379) caused LSASS crashes on 10th Gen or newer Intel vPro systems with Intel TXT enabled. This crash forced affected machines directly into BitLocker recovery at startup, which Microsoft later resolved with an emergency patch (KB5061768).
Is BitLocker the same as other Blue screen errors?
It is also important to distinguish a BitLocker recovery prompt from other Windows boot failures that feature a blue screen:
- BitLocker recovery screen: Triggers specifically when system integrity or hardware security checks fail.
- Windows stop errors (e.g., Inaccessible Boot Device or 0x0000007e): Point directly to driver conflicts, corrupted system files, or hardware failures rather than a security trigger.
Fixing the BitLocker recovery loop when you have your key
If you have the recovery key, several fixes exist depending on what triggered the lock, ranging from completely risk-free to options that require care.
Fix 1: Entering the recovery key
- Risk Level: None (safe)
- Skill Level: Beginner
Microsoft's own recovery documentation describes the process as straightforward: type the 48-digit recovery password into the preboot recovery screen, where built-in checksum numbers catch entry mistakes in each six-digit block before you finish.
At the BitLocker recovery screen, locate your recovery key. It's most often saved to your Microsoft account (account.microsoft.com/devices/recoverykey), printed out, saved to a USB drive, or stored in Active Directory/Entra ID if this is a work device.
Pro tip: In corporate environments, BitLocker keys are automatically backed up to Microsoft Entra ID (formerly Azure AD) or Active Directory Domain Services (AD DS). Enterprise users who do not have access to a personal Microsoft account should contact their IT helpdesk or log into myaccount.microsoft.com (under Devices) to retrieve work/school recovery keys.
Once you have the key:
1. Type the 48-digit password into the recovery screen using the number keys or function-key input Windows presents.
2. Watch for the built-in checksum validation on each 6-digit block.
3. Press Enter. If correct, Windows boots normally and the drive unlocks.
4. If the screen won't accept input or the device won't boot that far at all, Microsoft's guidance is to connect the drive to another computer as a secondary drive and unlock it from there using the same key.
Fix 2: Re-enabling Secure Boot or TPM/PTT in BIOS
- Risk Level: None (safe)
- Skill Level: Beginner
If the trigger was a BIOS-level change, such as a firmware update that reset Secure Boot or Intel PTT to disabled, reversing that setting removes the ongoing cause of the lock.
To enable Secure Boot, follow these steps:
1. Restart the computer and press the BIOS/UEFI setup key during boot (commonly F2, F10, F12, Esc, or Del, depending on manufacturer).
2. Navigate to the Security tab (label varies by vendor, sometimes under "System Configuration").
3. Locate Secure Boot and/or Intel PTT (Platform Trust Technology) or TPM State, and set whichever was disabled back to Enabled.
4. Save changes and exit, commonly the F10 key, then let the system restart.
5. Enter the recovery key one more time if prompted. Toggling the setting back on clears the current lockout and prevents the same trigger from firing again at the next boot.
Fix 3: Startup Repair
- Risk Level: Low (configuration change)
- Skill Level: Beginner
Startup Repair targets corrupted Windows boot files, which is a different problem from BitLocker itself, but it's worth ruling out when the recovery screen keeps reappearing even after a successful unlock.
If Windows doesn't boot normally after two failed attempts, it usually drops into the Windows Recovery Environment (WinRE) automatically. If it doesn't, force it by holding the power button to interrupt boot three times.
1. Select Troubleshoot.
2. Select Advanced Options.
3. Select Startup Repair.
4. Let Windows scan and attempt to fix corrupted boot files automatically. This step doesn't touch personal files.
If Startup Repair reports it couldn't fix the problem and the recovery screen reappears, that points back to a BitLocker-specific trigger rather than boot file corruption, so the recovery key or manage-bde steps are the next move.
Fix 4: System Restore or uninstalling a recent update
- Risk Level: Low (preserves data, but can remove recently installed apps, drivers, or updates)
- Skill Level: Beginner
If a specific Windows update triggers it, rolling it back removes the cause directly. This is the practical fix for Microsoft's May 2025 update KB5058379, which forced affected machines into BitLocker recovery at startup.
Microsoft's emergency patch, KB5061768, fixed it going forward, but uninstalling KB5058379 or running a System Restore to a point before it installed clears the immediate problem.
To return your system to a previous point:
1. From WinRE, select Troubleshoot > Advanced Options.
2. To uninstall the update: select Uninstall Updates, then choose either Uninstall latest quality update or Uninstall latest feature update depending on what was recently installed.
If you can boot into Windows first, the same option is under Settings > Windows Update > Update History > Uninstall Updates.
3. To use System Restore instead: select System Restore, choose a restore point dated before the problem started, and confirm.
4. Let the system restart and check whether the recovery screen still appears.
Personal documents and photos are unaffected either way, but a restore or update uninstall can also remove recently installed applications or drivers, so expect to reinstall anything added around that same time.
If the cause was specifically KB5058379 on an Intel vPro/TXT system, install the follow-up patch KB5061768 through the Microsoft Update Catalog afterward so the issue doesn't return. Disabling Intel TXT or Intel VT in the BIOS/UEFI settings is an immediate workaround that lets the machine boot into Windows so you can apply the KB5061768 patch.
Fix 5: Unlocking and resetting BitLocker from the command prompt
- Risk Level: Medium (incorrect command can cause confusion or errors)
- Skill Level: Intermediate
If the loop persists after a clean key entry, Dell's support documentation and Microsoft's manage-bde reference point to the same underlying fix: unlock the drive, then reset BitLocker's validation baseline.
1. From the recovery screen, press Esc for more options, then follow Skip this drive > Troubleshoot > Advanced Options > Command Prompt.
2. Check the drive's lock status: manage-bde -status c:
3. Unlock it with the recovery key: manage-bde -unlock c: -rp [48-digit key]
4. Temporarily disable BitLocker protection: manage-bde -protectors -disable c:
5. Type exit and let the computer restart normally.
6. Once Windows boots, turn BitLocker back on through Windows Settings.
This works because the loop is usually a mismatch between the current boot state and what BitLocker expects, not a permanently broken key.
Disabling and re-enabling protection, which Microsoft's documentation describes as suspending and resuming BitLocker, gives the feature a fresh baseline to check against.
Warning: Typing an exact command incorrectly won't damage the drive, but it can produce confusing error messages, so this tier suits someone comfortable in Command Prompt rather than a first troubleshooting step for an unfamiliar user.
What "skip this drive" and other bypass options actually do
In the command-line walkthrough from Fix 5, it's a navigation step toward the Command Prompt, not a way to reach locked data. This is a common point of confusion between users trying to bypass the BitLocker recovery screen: skipping is not bypassing encryption. Selecting "Skip This Drive" from the recovery screen's advanced options continues the boot process without unlocking the encrypted volume.
Commands like bcdedit /set {default} safeboot minimal configure the system to boot into Safe Mode, which can help isolate whether BitLocker or something else is the real problem. But it still requires the recovery key to actually open the encrypted drive.
What happens when there's no recovery key left to try
BitLocker is designed so a drive without its recovery key stays inaccessible. This means that to bypass the feature, you’ll erase the drive, not unlock it.
The following methods for bypassing a lost-key lockout destroy the encrypted volume:
| Method | What it actually does |
| diskpart with clean in Windows Recovery Environment | Wipes the partition table on the target disk |
| Third-party partition tools with a "wipe drive" or zero-fill feature | Overwrites the drive with zeros |
| Reinstalling Windows directly on the locked drive | Formats the drive as part of setup |
If the goal is to boot a blank system and start over, either method works. If the goal is to recover the files that were on that drive, neither helps, and running either option removes any chance of getting the data back later.
That's when the situation shifts from a Windows troubleshooting problem to a data recovery one.
When a BitLocker lockout needs a professional recovery lab
A BitLocker-locked drive with no recovery key is a job for a lab that can work with the encryption at the hardware level, because the standard software options at that point only lead to a wipe.
This applies to both laptop data recovery and PC data recovery cases, since BitLocker lockouts show up on both desktops and laptops, with Dell and HP laptops appearing most often in reported cases.
On some Windows laptops, the recovery key isn't just a number stored in an account. It can be tied to information stored at the BIOS or motherboard level. In those cases, Michael Galloway, SalvageData HDD Recovery Engineer, notes that getting back to the data isn't just a matter of entering a decryption key. If the motherboard is the reason the key or the drive can't be reached, the lab may need to get the hardware working again before the encrypted data is accessible, let alone decrypted.
SalvageData's encrypted data recovery service works with BitLocker, FileVault, self-encrypting drives, and other encrypted storage. If the recovery key is gone and the drive is too important to gamble on a wipe-and-reinstall, contacting our team for a free data recovery evaluation before running any destructive command is the safer next step.