Key Takeaways:
- The Settings rollback works within 10 days of upgrading and preserves your files. The clean install works at any time, but erases the system drive with no undo.
- Back up files before starting either method. A failed or interrupted installation can result in permanent data loss.
- Windows 10 reached the end of support on October 14, 2025. Microsoft's Extended Security Updates (ESU) program continues to provide critical security patches through October 13, 2026, for enrolled devices.
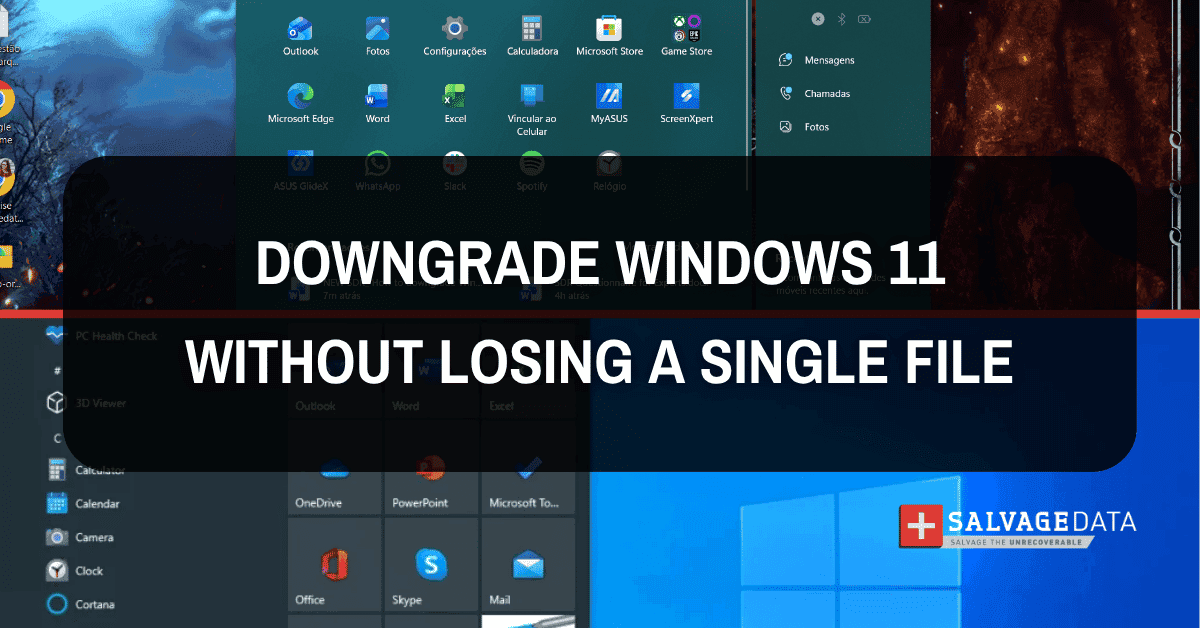
Downgrading from Windows 11 to Windows 10 is possible through two methods: a built-in Settings rollback available within 10 days of upgrading, and a clean installation that can be performed at any time. The rollback preserves personal files and most applications. The clean install erases the system drive entirely. If files are lost during the process, SalvageData offers laptop data recovery for Windows devices.
The Windows 11 update is still rolling out, and some users are facing issues along the way, which has led many to choose to downgrade their systems. According to StatCounter data, Windows 10 still held approximately 26% of the global desktop market share as of February 2026, more than four months after Microsoft ended support for the OS. Hardware incompatibility, driver conflicts, and user preferences all drive the persistent demand to revert. Which method applies depends on one question: how long ago was the upgrade to Windows 11?
The "Go back" option in Settings is powered by a folder called windows.old stored on the system drive. Windows removes it automatically after 10 days to reclaim disk space. Some users find the option unavailable even within that window if disk cleanup was run manually or the folder was deleted. If "Go back" is grayed out for any reason, the clean install path below works regardless of timing.
Back up your files before you start
The clean install path formats the system drive and removes everything on it. Even a rollback that fails mid-process can corrupt files. Complete a full backup before starting either method.
The most reliable approach is copying files to an external drive. SalvageData's guide on backing up your computer to an external hard drive covers the process in full. For a broader overview of protecting data through OS changes, the data loss prevention guide is a useful reference.
Prioritize the following before proceeding:
- Documents, photos, and videos in user folders (Downloads, Pictures, Documents, Desktop)
- Browser bookmarks and saved passwords, exported from the browser settings
- Application data and configuration files for any software you rely on
- Product keys and license information for paid software
Cloud-synced files in OneDrive, Google Drive, or iCloud are generally preserved through an OS change, but confirm sync is complete before starting.
How to go back to Windows 10 within 10 days
The Settings rollback restores the previous Windows 10 installation and preserves personal files and most installed applications. Apps installed or updated during the Windows 11 period may need to be reinstalled after the rollback completes.
What you need before starting
- The device is plugged into power (not running on battery)
- At least 2GB of free space on the system drive
- Confirmation that the windows.old folder has not been deleted (visible in File Explorer at the root of C:)
Steps to roll back to Windows 10
- Open Settings (Windows key + I).
- Go to System, then select Recovery.
- Under "Recovery options," find Go back and click it. If the button is grayed out or absent, proceed to the clean install section below.
- Windows will ask for a reason for the rollback. Select the closest option and click Next.
- When prompted about updates, click No, thanks.
- Read the reminder to have your Windows 10 password ready, then click Next.
- Click Go back to Windows 10 to begin.
The process takes 15 to 45 minutes and will restart the device several times. Do not power off the machine.
Once complete, run Windows Update under Settings > Update and Security to reapply any patches that were active before the upgrade.
How to downgrade Windows 11 to Windows 10 after 10 days
A clean installation of Windows 10 is available at any time, regardless of how long ago the upgrade occurred. However, the process erases all data on the system drive.
What you need
- A USB drive with at least 8GB of storage (it will be erased during setup)
- A valid Windows 10 license (devices that originally shipped with or upgraded from Windows 10 typically retain a hardware-linked license and will activate automatically)
- Internet access to download the Media Creation Tool
Steps to clean install Windows 10
- Download the Windows 10 Media Creation Tool from Microsoft's official site at microsoft.com/en-us/software-download/windows10
- Run the tool and select Create installation media for another PC.
- Choose language, edition, and architecture (64-bit for most modern devices), then select USB flash drive.
- Follow the prompts to create the bootable USB. This takes 10-20 minutes.
- Plug the USB drive into the target device, then restart.
- Access the boot menu during startup. The key varies by manufacturer: F12 on Dell and Lenovo, F9 on HP, F8 or Del on most ASUS boards. Select the USB drive.
- When the installer loads, select language and keyboard preferences, then click Install now.
- At the product key prompt, click I don't have a product key. Windows will activate automatically if the hardware is licensed.
- On the installation type screen, select Custom: Install Windows only.
- Select the drive partition where Windows 11 is currently installed. All data on that partition will be erased. Click Next.
- Installation proceeds through several stages and multiple restarts. Total time is typically 30-60 minutes.
- Once complete, restore files from the external backup. Download any hardware drivers (graphics, network adapters) from the manufacturer's support site if Windows Update does not install them automatically.
| Criteria | Settings Rollback | Clean Install |
| Time required | 15-45 minutes | 30-60 minutes + backup restore |
| Files preserved | Yes | No — system drive is erased |
| Apps preserved | Most | None — reinstall required |
| Available after 10 days | No | Yes |
| Skill required | Basic | Intermediate (BIOS access, boot menu) |
| Risk level | Low | High if backup is incomplete |
What happens to Windows 10 after October 2026
End of support means Microsoft no longer issues bug fixes, feature updates, or technical support for Windows 10. Security patches do continue, but only for devices enrolled in the Extended Security Updates (ESU) program, which runs through October 13, 2026. After that date, no further patches will be issued under any consumer program.
Consumer ESU enrollment requires a device running Windows 10 version 22H2 with all current updates, signed in with an administrator-level Microsoft account. Microsoft offers three enrollment paths: at no additional cost if PC Settings are being synced via Windows Backup, by redeeming 1,000 Microsoft Rewards points, or with a one-time $30 USD purchase. A single ESU license covers up to 10 devices.
Enrollment is available in Settings > Update & Security > Windows Update, where eligible devices will see an "Enroll now" option.
The practical impact varies by use case. For a secondary device not connected to sensitive accounts, the exposure is limited even without ESU. For a machine used for banking, remote work, or storing personal documents, ESU is a one-year bridge rather than a long-term solution. For users who plan to remain on Windows 10 past October 13, 2026, third-party micropatching services can fill part of the gap.
Users on Windows 10 who encounter persistent issues, such as a Windows computer freezing after a downgrade, will not benefit from OS-level improvements. In May 2026, Microsoft announced Cloud-Initiated Driver Recovery, a Windows 11 feature that will automatically roll back faulty drivers via Windows Update starting in September 2026. Driver conflicts are among the most common causes of system instability, and previously, the fix required manual user intervention or a replacement driver from the hardware vendor. Windows 10 receives none of this, nor any future improvements to Windows Update infrastructure.
For users whose hardware cannot meet Windows 11's TPM 2.0 and CPU requirements, or who depend on software that does not run on Windows 11, downgrading remains a reasonable choice. The goal is to make it as an informed one.
What can go wrong during a Windows downgrade?
Problems occur most often when the installation is interrupted by a power loss or forced shutdown, or when a driver conflict prevents the OS from booting after installation completes.
Boot failures are the most common complication after either method. The device may stall at the Windows logo, loop through restarts, or show an error loading operating system message. Some of these are software-level and can be resolved through the Windows repair environment on the installation USB. Others point to a storage problem.
Michael Galloway, HDD Recovery Engineer at SalvageData, explains the diagnostic starting point: "First, check if the storage device is being displayed in the BIOS. If the storage device is showing up in the BIOS, then it could be a logical issue. A bad sector on a drive will show up in the BIOS but can sometimes prevent the OS from booting. A storage device not showing up in BIOS could be a failed drive or a motherboard issue."
If the Getting Windows Ready stuck screen appears and the device cannot complete startup, a repair install from the USB drive is worth attempting before concluding the drive has failed. Testing the drive in a second device confirms whether the storage itself is functional.
For cases where the clean install was started without a completed backup, professional recovery may still be possible. SalvageData's engineers can recover a deleted partition and retrieve files from drives that appear blank to the operating system. Contact SalvageData for a free diagnostic evaluation if files were lost during the process.